Juicy Spatchcock Chicken, golden potatoes and tender carrots are seasoned with flavorful spices and roast together in a one pan meal! What an easy and delicious dinner!
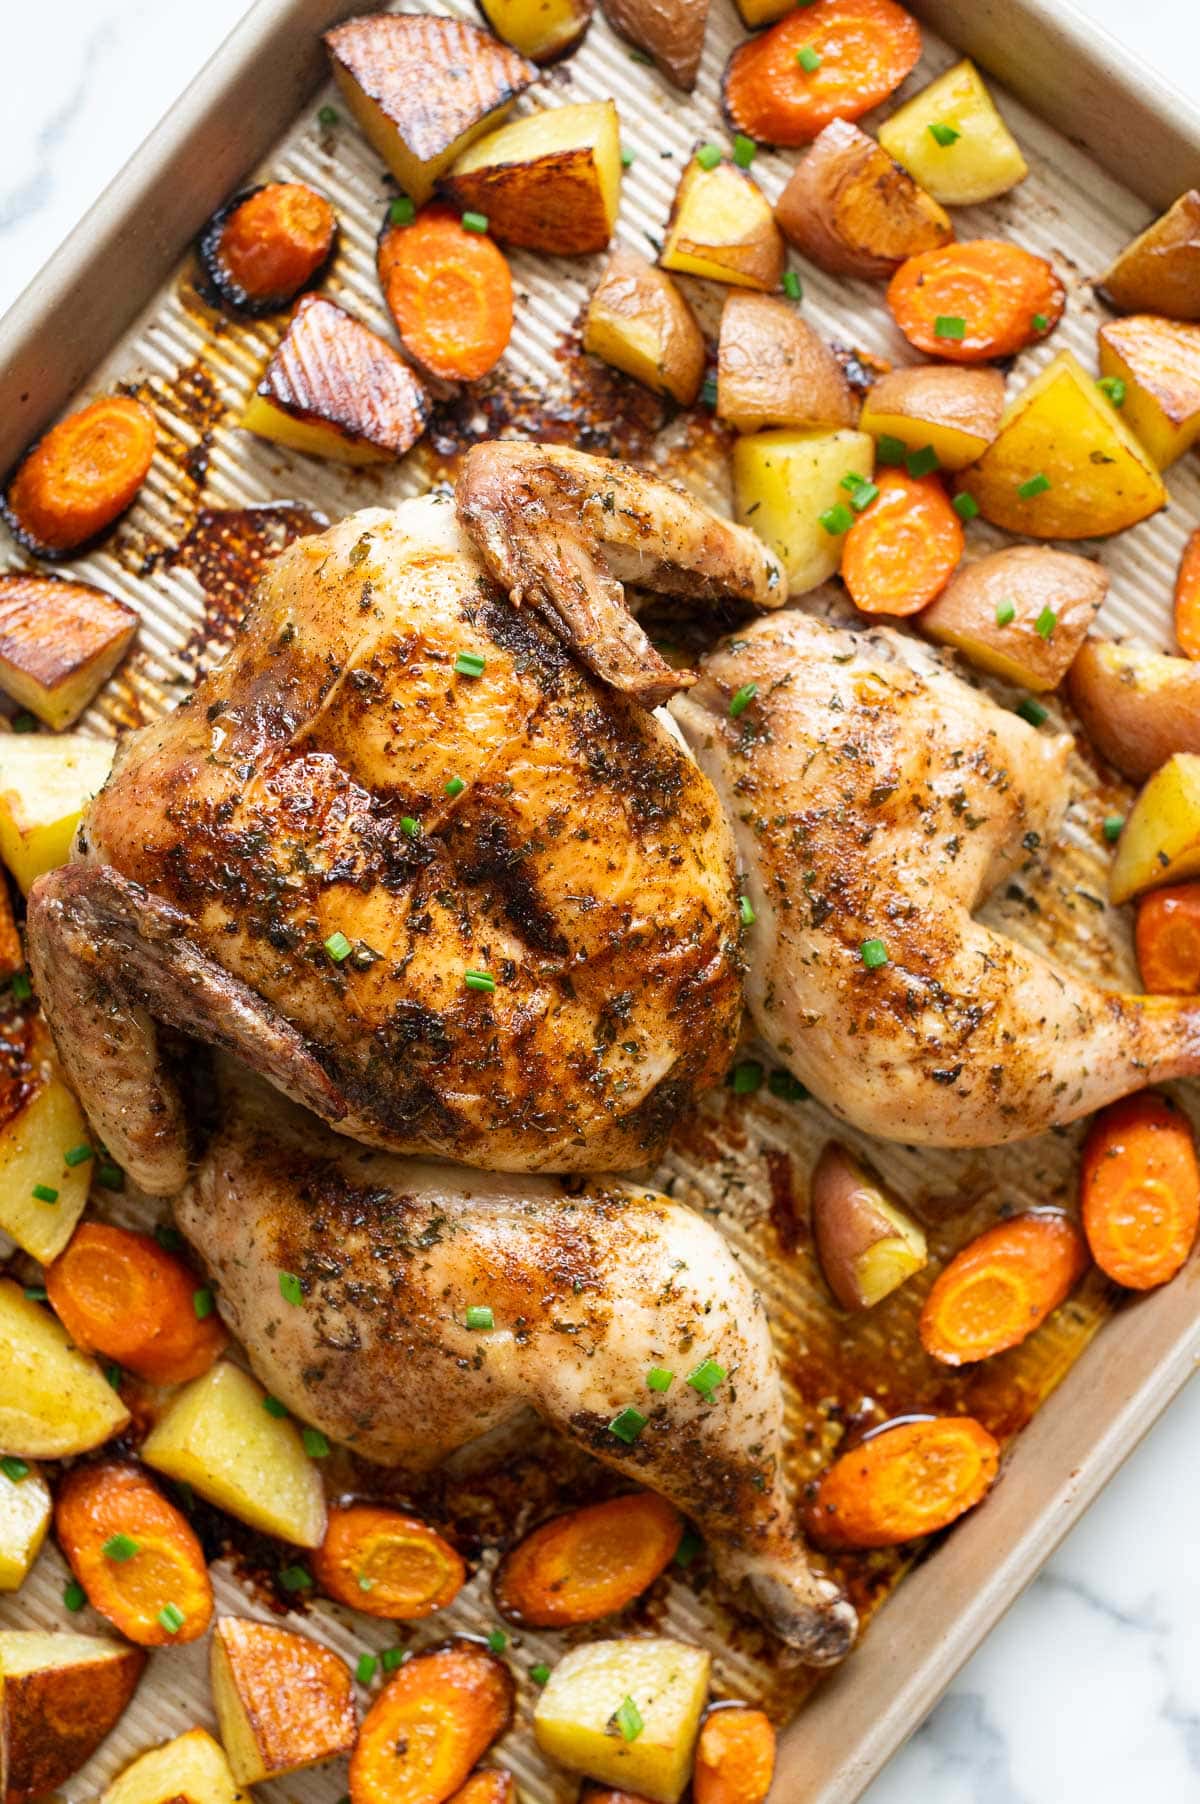
Table of Contents
When it comes to cooking a whole chicken, I usually stick to cooking whole chicken in Instant Pot or slow cooker whole chicken. And when I’m truly in a pinch, I make Instant Pot frozen whole chicken. All are easy and hands off recipes!
But now that I’ve tried this spatchcock chicken recipe and even turned it into a one pan dinner, it’s become my go to recipe for roasting a whole chicken in the oven!
Why You’ll Love This Recipe
- So easy: No marinating, no lengthy prep, ready in just 1 hour.
- Evenly juicy: Flattening the chicken helps it cook faster and more evenly, keeping the meat juicy and the skin nice and crispy.
- Customizable: Swap in your favorite veggies to make this spatchcock chicken exactly how you like it.
- Crowd pleasing: It’s a dish that looks impressive but is easy to make, and simple to scale up for a larger group. Everyone will love it!
Ingredients for Spatchcock Chicken
For this chicken recipe, all you need is a whole chicken, veggies, and a few simple seasonings.
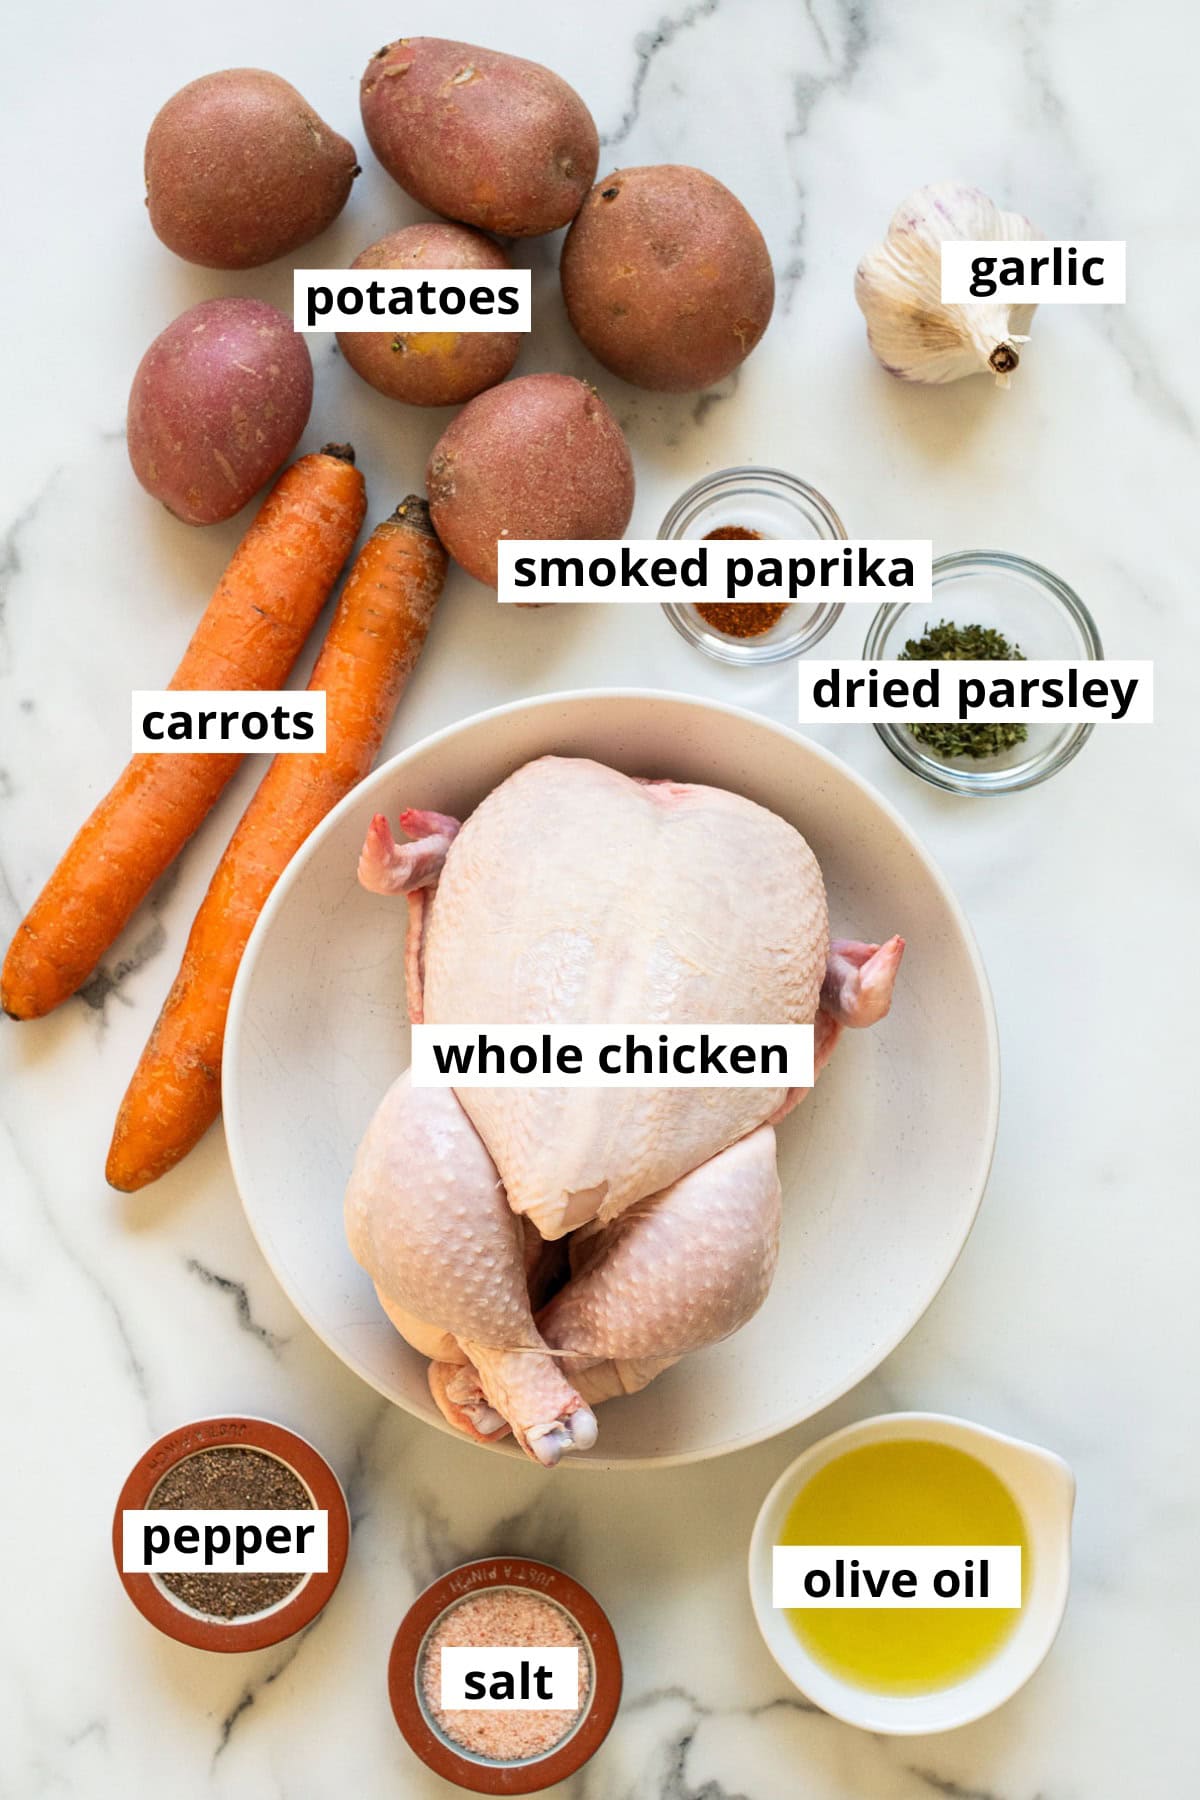
- Whole chicken: My chicken was between 4-5 pounds, but you can use any whole chicken from 3-6 pounds. Just be sure to trim any excess fat.
- Vegetables: Potatoes and carrots cut into large chunks. See FAQs for other suggestions.
- Olive oil: I love using extra virgin olive oil because it adds a rich flavor and helps get that perfectly crispy, golden skin. You can also use avocado oil.
- Garlic: Freshly grated garlic cloves have the best flavor and spread more evenly.
- Seasoning: Dried parsley, smoked paprika, salt, and pepper.
How to Spatchcock Chicken
Here’s an overview of how to flatten the chicken and roast it in the oven with your veggies.
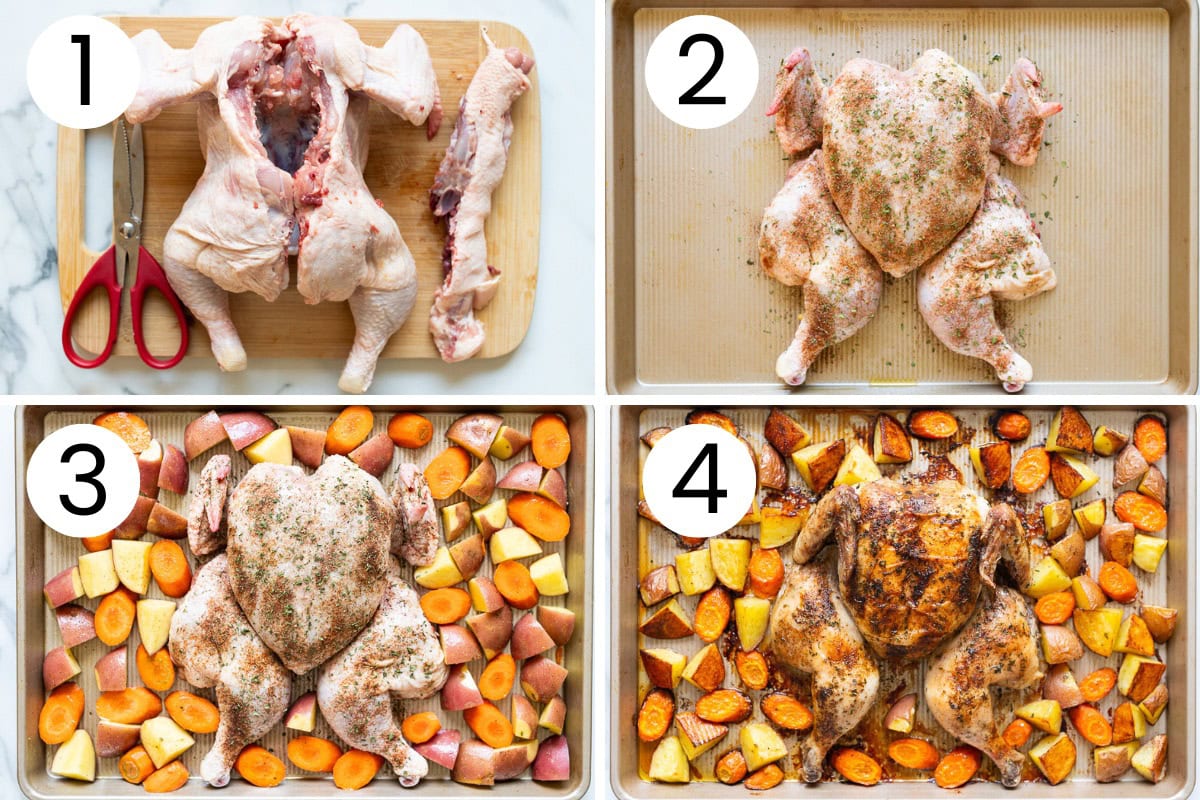
Start by preheating your oven to 450 F.
- Prepare the chicken: Place the chicken breast-side down on a cutting board and use kitchen shears to cut along both sides of the spine, cutting through the ribs. Flip it over, press down on the breastbone until it cracks and the chicken is flat. Then, transfer it to a baking sheet.
- Season the chicken: In a small bowl, whisk together dried parsley, smoked paprika, salt, and pepper. Drizzle both sides of the chicken with olive oil and rub it in. Then, rub with garlic and sprinkle with spice mix on both sides. Center the chicken, breast side up, in the on the baking sheet.
- Add the veggies: Place the potatoes and carrots around the chicken. Drizzle with olive oil, sprinkle with salt and pepper, then toss to coat everything evenly. Arrange the veggies in a single layer.
- Bake the chicken: Bake for 15 minutes, then lower the heat to 425 F and bake for another 25 minutes, or until a thermometer in the thickest part of the breast reads 165 F.
Spatchcocking Tip
Sometimes on a smaller chicken when you press on the breasts to flatten, you won’t hear a crack. That’s normal because the chicken is quite small and once you remove the bone, it’s already kind of flat.
Tips for Best Results
Here are my top tips for cooking a whole chicken like a pro!
- Bring chicken to room temperature: Warm up the bird on a counter for about 30 minutes, if you have time. This helps it cook more evenly.
- Use sharp kitchen shears: Key for cutting through the backbone and ribs of the chicken easily and safely. A sharp knife can get the job done if you don’t have shears, but it might take a little more effort and precision.
- Cut close to the bone: To minimize waste and leave more meat on the chicken for roasting. I usually save a few bones and backs in a freezer bag and use them to make rich, flavorful chicken broth.
- Dry your chicken: Moisture prevents the skin from browning and can make it soggy, so patting the bird dry with paper towel ensures crispy skin and juicy meat.
- Bake without parchment paper: I noticed the spatchcocked chicken and veggies roast better and caramelize more right on a metal sheet. Using parchment paper can cause the food to steam a bit, but if you prefer not to have the food touching aluminum or non-stick surfaces, feel free to use it.
- Don’t over bake and let chicken rest: Remove the chicken when it reaches 165 F in the thickest part to avoid drying it out. And letting it rest allows the juices to redistribute which keeps the meat juicy and tender.
Serving Ideas
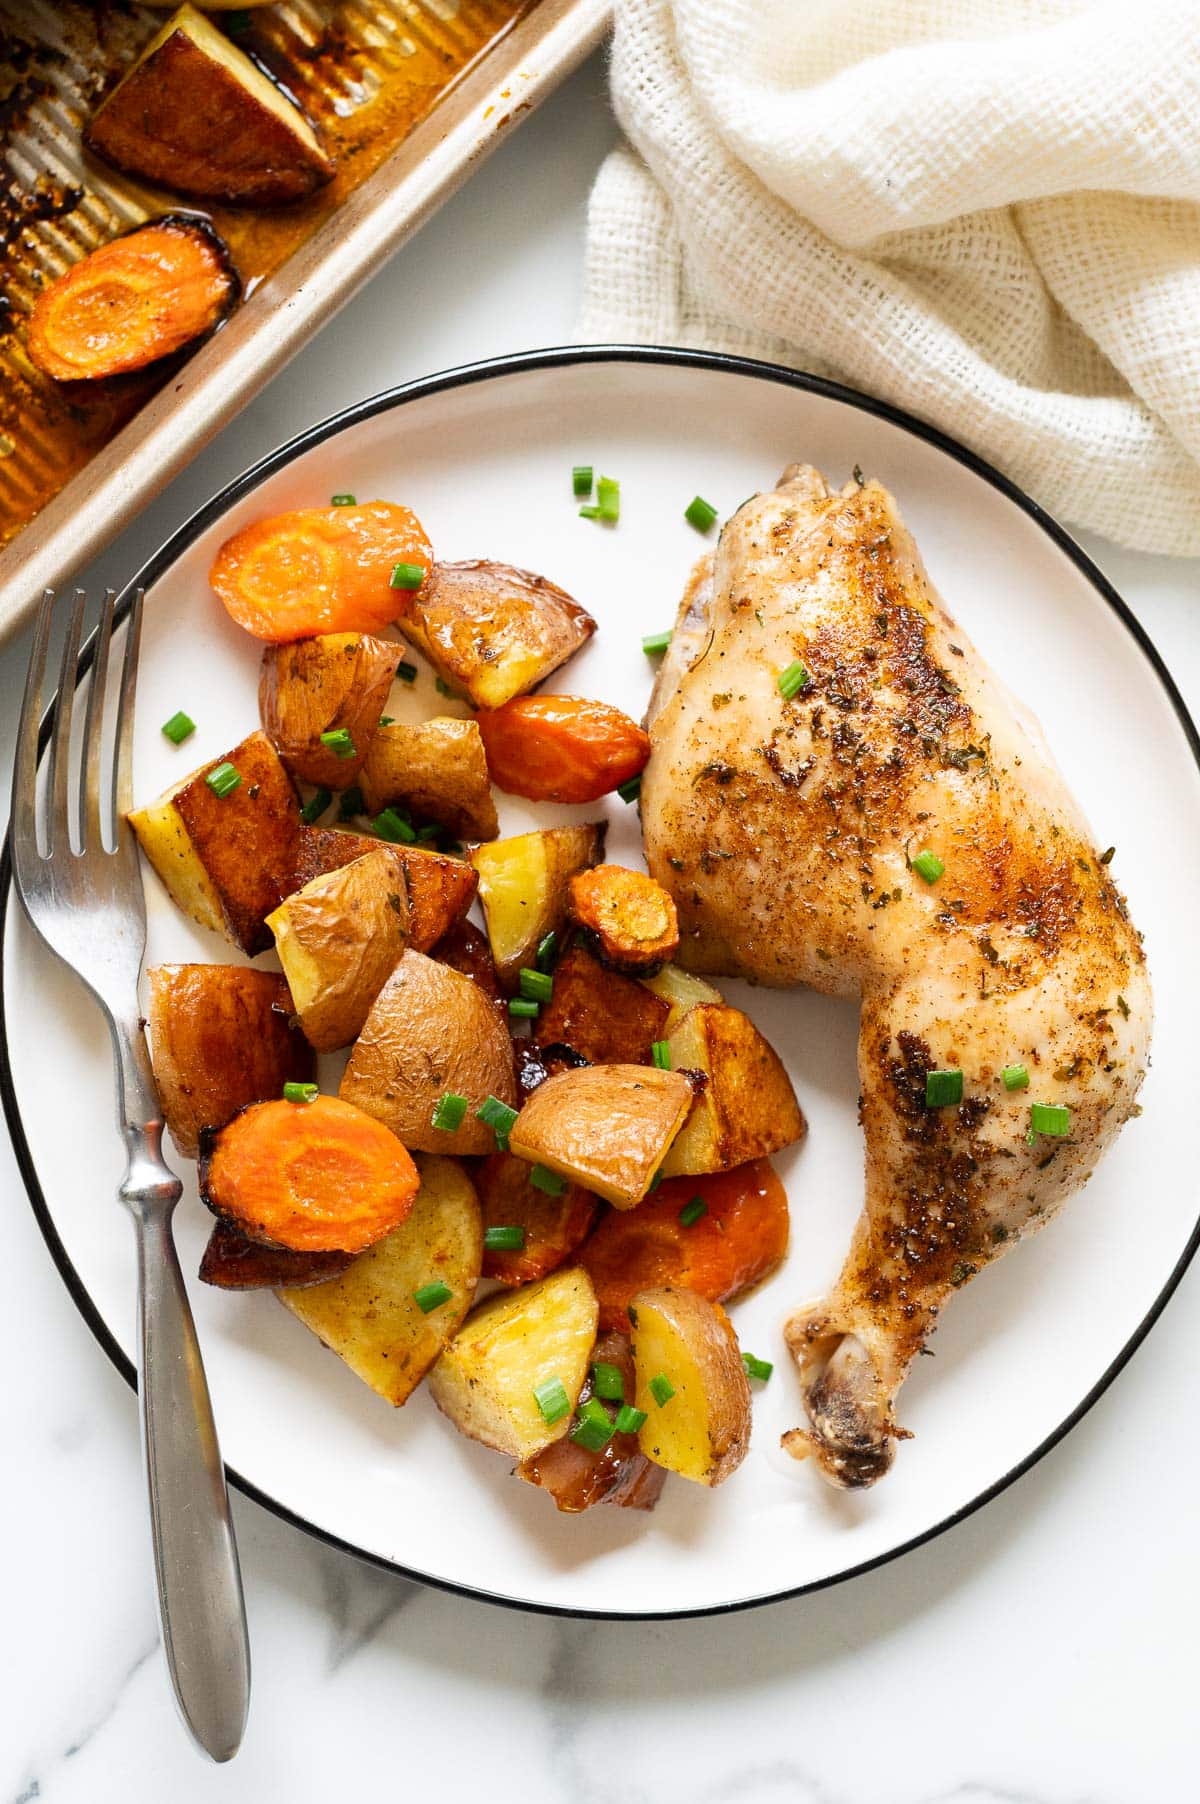
This healthy dinner is already a one pan meal but it pairs beautifully with fresh salads for a little extra variety. Try a simple butter lettuce salad, my favorite coleslaw recipe, or a refreshing cucumber and tomato salad.
For heartier options, add a side of crusty bread or fluffy Instant Pot white rice to soak up the juices. It’s a flexible dish that works with whatever you have on hand!
How to Store and Reheat
Store: Keep all your leftovers in an airtight container and in the fridge for up to 5 days.
Freeze: Pop the chicken into a freezer-safe bag, and it’ll keep for up to 3 months. Just thaw it out when you’re ready to enjoy
Reheat: You can enjoy the leftover chicken cold in salads or heat it up in the microwave.
FAQs
Unlike cutting a whole chicken into pieces, spatchcocking a chicken means removing the backbone and flattening it for quicker, even cooking.
Spatchcocking is a game-changer! It cooks the chicken faster, helps the heat spread evenly, and gives you crispy skin all around. Plus, it makes carving way easier since the chicken is nice and flat.
You’ll know the chicken is ready when the internal temperature hits 165 F in the thickest part of the breast. Once it’s done, let it rest for a few minutes, and you’re good to go.
Yes, you can spatchcock the chicken ahead of time. Just prep it, cover it well, and store it in an airtight container in the refrigerator for 1-2 days before cooking.
You can use brussels sprouts, sweet potatoes, bell peppers, or red onions. Just make sure they’re cut to a similar size so they cook evenly.
More One Pan Recipes to Try
- Instant Pot chicken and potatoes
- One pan chicken and potatoes
- Roasted chicken thighs and potatoes
- Sheet pan chicken and veggies
- Sheet pan steak fajitas
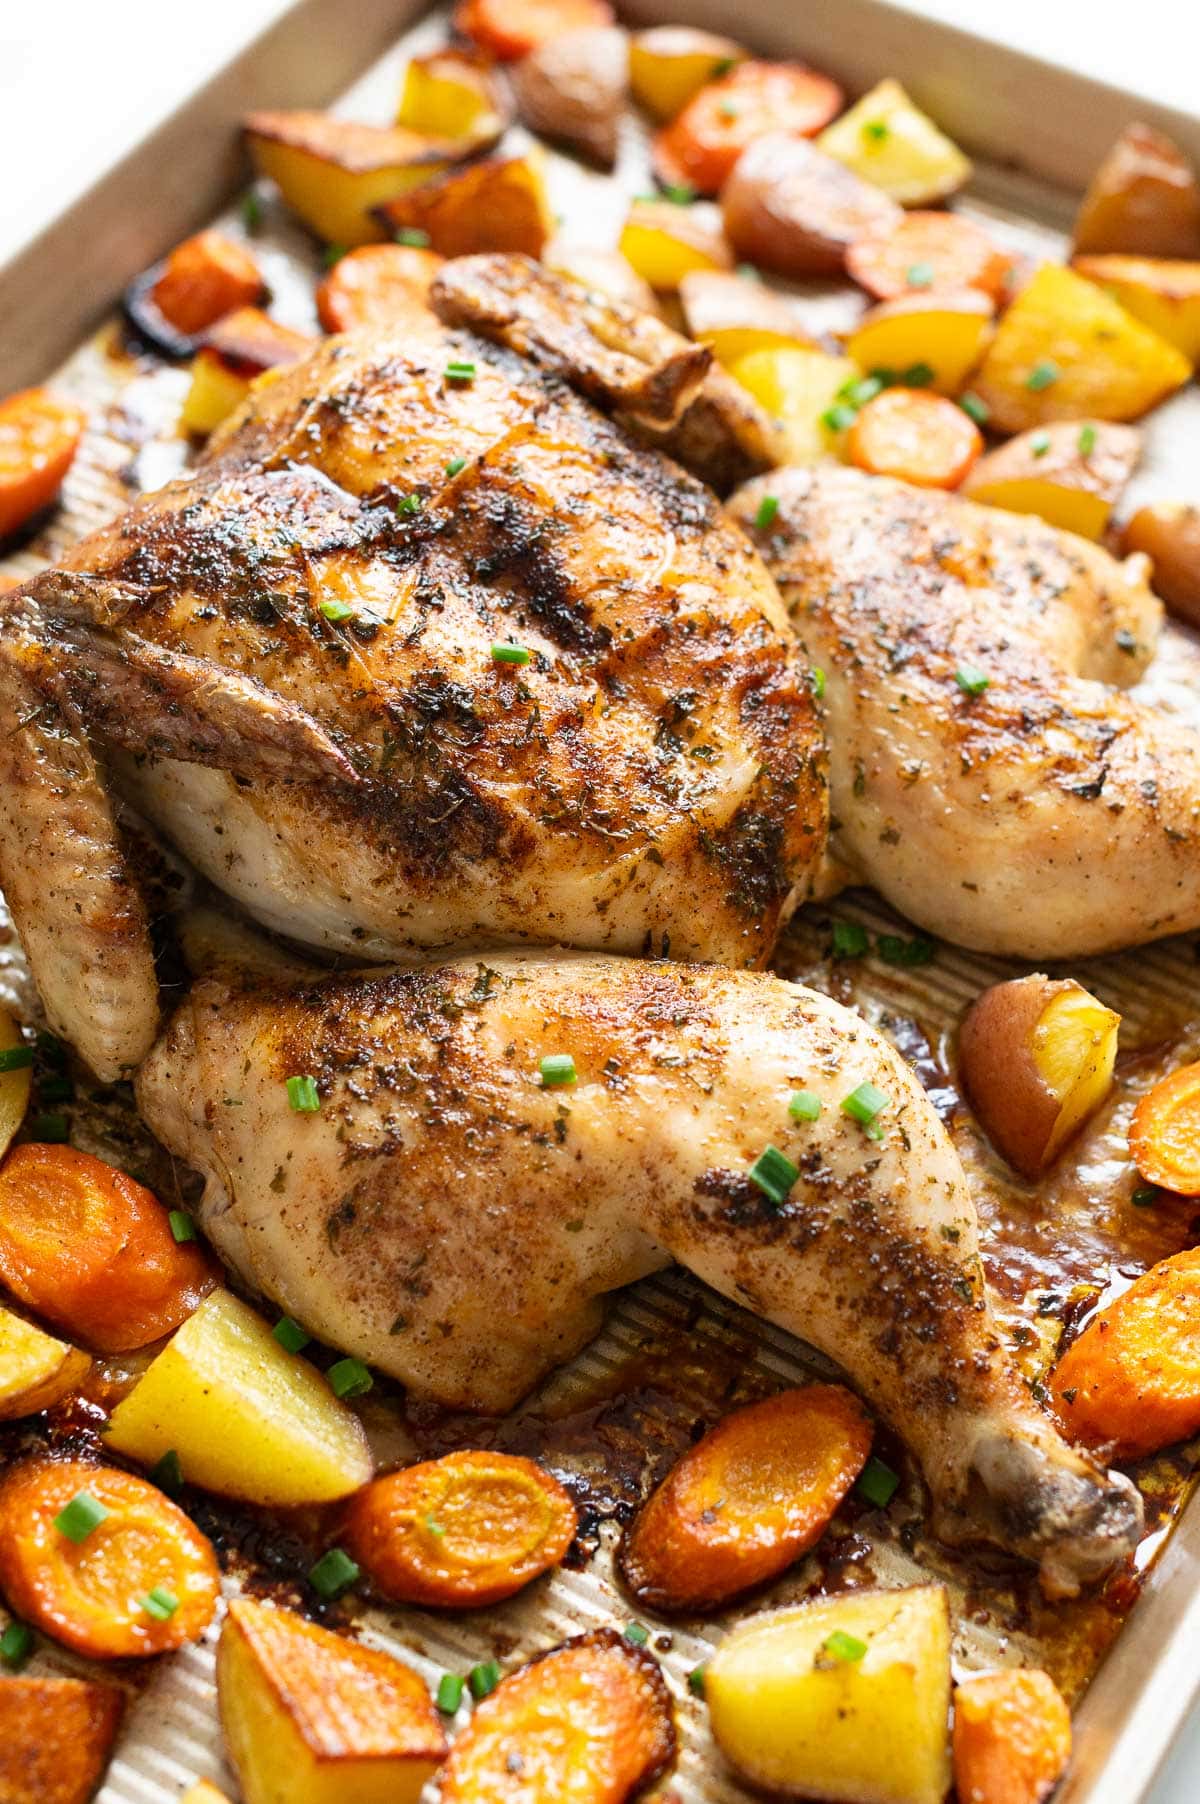

Spatchcock Chicken
Ingredients
For the Spatchcock Chicken:
- 4-5 pounds whole chicken
- 2 tablespoons olive oil, extra virgin
- 1 large garlic clove, grated
- 2 teaspoons dried parsley
- 1/2 teaspoon smoked paprika
- 3/4 teaspoon salt
- 1/2 teaspoon ground black pepper
For the Vegetables:
- 1 1/2 – 2 pounds potatoes, cut into large chunks
- 2 large carrots, cut into large chunks
- Extra virgin olive oil, to taste
- Salt and pepper, to taste
Instructions
- Preheat oven to 450 F. Place whole chicken breasts side down on a cutting board. Using sharp and sturdy kitchen shears, cut the spine out on both sides, cutting through the ribs. Flip the chicken and press on the breasts with the palm of your hand until you hear a crack and the chicken is flat. Transfer onto a baking sheet.
- In a small bowl, combine dried parsley, smoked paprika, salt, pepper and whisk with a fork.
- Drizzle chicken with olive oil on both sides and rub with your hands all around. Then rub with garlic, getting under the skin and inside the cavity. Sprinkle with a spice mixture on both sides and arrange chicken breasts side up in the center of a baking sheet.
- Add potatoes and carrots around the chicken. Drizzle with olive oil and sprinkle with salt and pepper. Toss to coat evenly with a spoon and arrange in a single layer.
- Bake at 450 F for 15 minutes, then reduce heat to 425 F and bake for another 25 minutes or until a thermometer inserted in the thickest part of the breast reads at least 165 F.
- Remove chicken from the oven, cover with foil (only the chicken) and let rest for 5 minutes. Cut it and serve with vegetables.
Notes
- Store: In an airtight container in the fridge for up to 5 days.
- Freeze: In a freezer safe bag for up to 3 months, thaw before enjoying.
