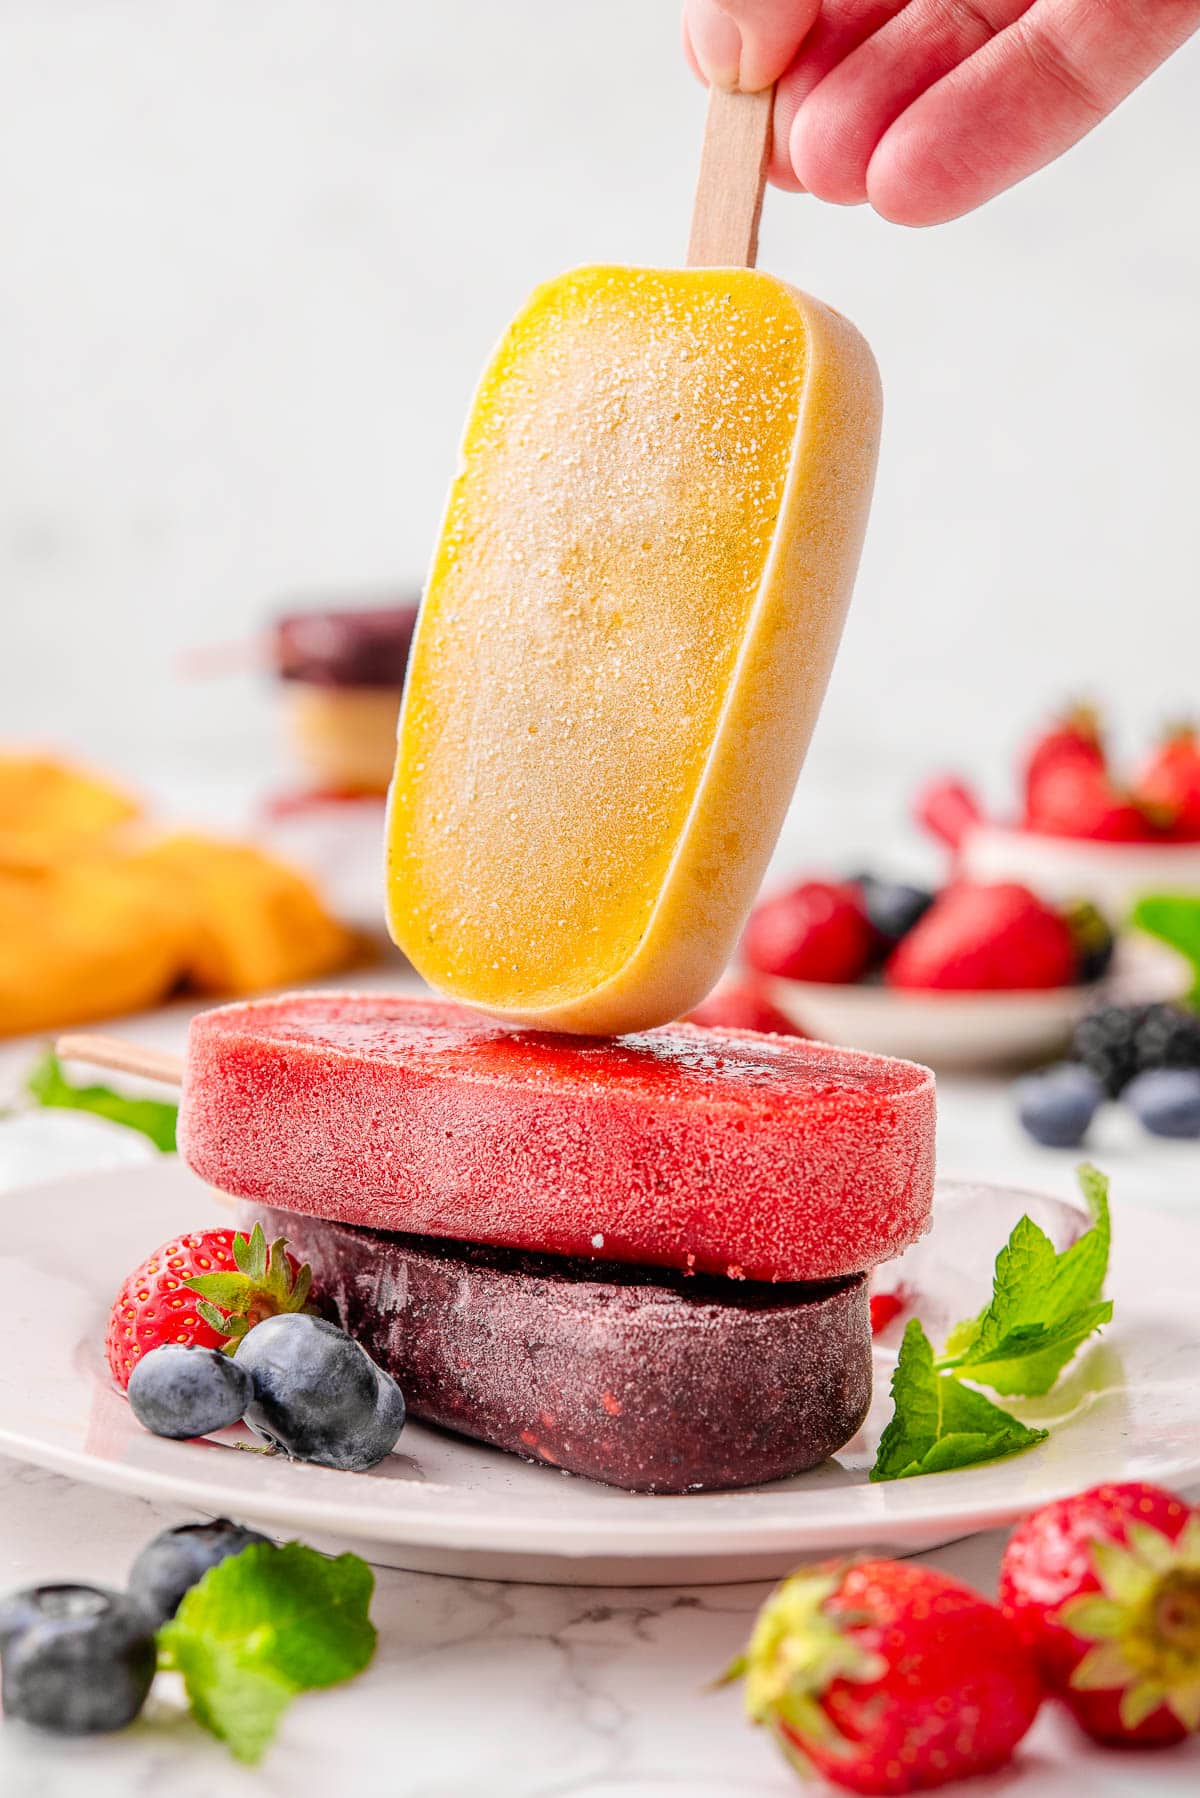
All you need is some fresh fruit and you can enjoy Healthy Homemade Popsicles on a hot summer day! These fruit popsicles require just 2 ingredients, a blender, and popsicle molds for a delicious frozen treat!
Why Your Kids Will Love Homemade Popsicles

Sucking on brightly colored juicy popsicles when we were younger is in everyone’s memory bank! And why wouldn’t they be? They’re cold, refreshing and so, so good at keeping us cool on hot summer days!
The thing is now we know exactly what they were made of. Food dyes, artificial ingredients, and a whole lot of sugar! No, thank you.
So, today I’m sharing my 2 ingredient recipe for healthy homemade popsicles made with real fruit. They’re naturally sweetened and refined sugar free. My kids have been enjoying these vibrant, colorful fruit popsicles since 2014 and today I am offering you a re-tested recipe, improved photography and more tips and tricks. Enjoy!
Ingredients for Homemade Fruit Popsicles
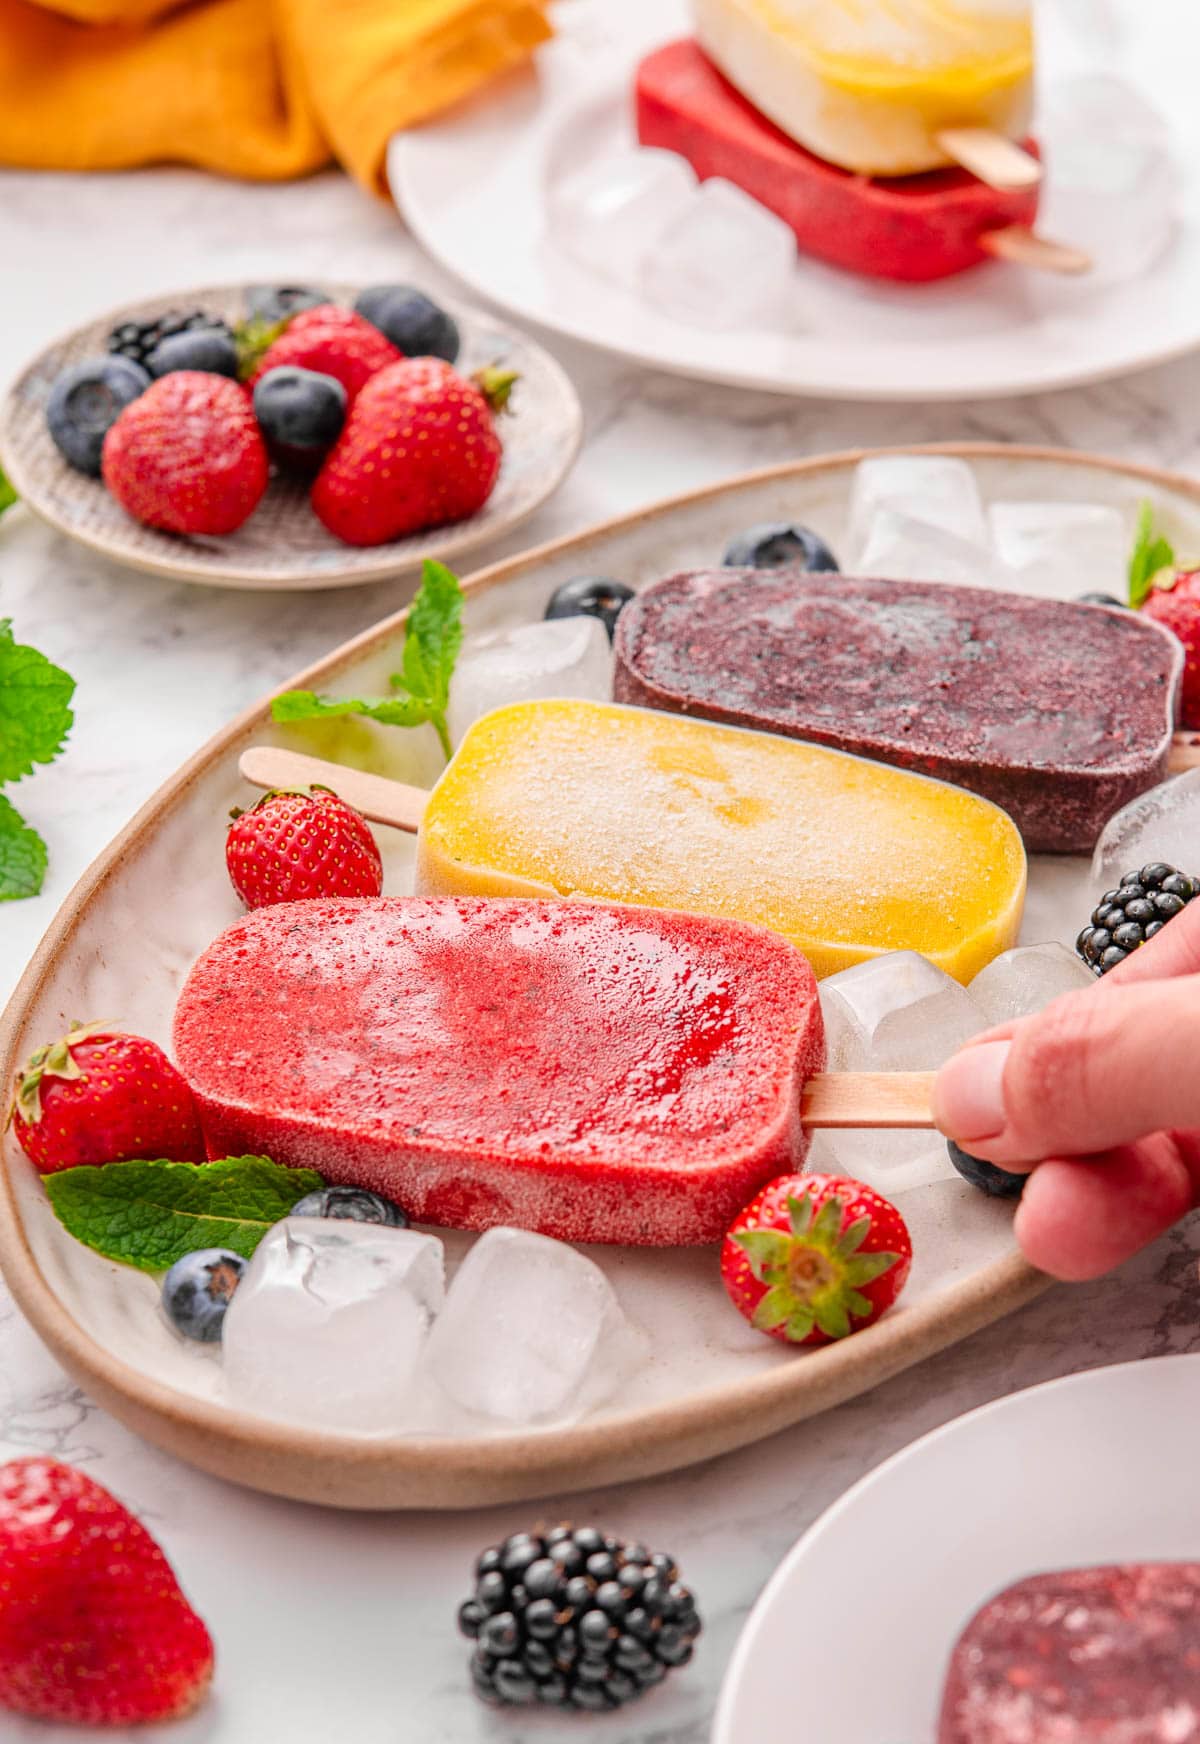
This time I whipped up 3 batches of blueberry-blackberry, mango and strawberry fruit puree, tossed in some fresh mint leaves, and that was it! Previously I have also tried cantaloupe and honeydew flavors.

Fruit: Whatever fruit or berries you decide to use, make sure they’re ripe and sweet as it’s the main source of sweetness for these healthy popsicles.
Use my popsicle recipe as a guide, have fun and get creative with what you decide to use. Get the kids to pick their favorites, here are a few ideas for a variety of colors and flavors:
- Red: Strawberry, raspberry, cherry, watermelon
- Yellow: Pineapple, lemon
- Orange: Peach, cantaloupe, apricot, orange, mango
- Green: Honeydew, pear, kiwi, lime
- Purple: Blueberries, blackberries
Mint leaves: Mint always helps to elevate the refreshing flavor of any type of fruit. It adds a lot of flavor, so please don’t skip!
Yogurt and Other Ingredient Suggestions
- Make a fro-yo style treat by combining the blended fruits with a little yogurt or Greek yogurt. Either blend it fully or swirl the yogurt in for a marble effect.
- Blend the fruit with some full fat coconut milk for a hint of coconut flavor and a creamier popsicle. This is also a great way to lighten up the color of the fruit.
- Mix and match the fruit: You could blend 2 fruits at once. Or you could blend them separately, fill half of the popsicle mold with one type, freeze it to set. Then fill remaining half with another type of fruit and freeze again. That way can have 2 distinct flavors and colors in one!
- To sweeten the pops, just a little bit of honey or maple syrup to the fruit purée. This would depend on how sweet your fruit is to begin with, so do a little taste test.
- If you want a stronger flavor, add a little fruit like orange juice, grape juice or apple juice to the mix. It’s concentrated, so it will enhance the taste of popsicles.
Yogurt Tip
Full fat coconut milk and yogurt, Greek or plain, will result in a creamy fruity popsicle. It may remind you of a creamsicle! Both, especially the yogurt, will add tartness and tang to the flavor. You may want to add some extra sweetness in this case.
How to Make Healthy Popsicles
The hardest part of this 2 step recipe is waiting for the popsicles to freeze, but they are worth the wait!

Blend Ingredients
Start by picking the best fruit. Using seasonal fruit will not only taste better but is more budget friendly. You want ripe, sweet, juicy fruit that smells as sweet as it looks.
Go ahead and do a little taste test along the way. Test your fruit because there’s nothing worse than looking forward to enjoying a popsicle that tastes off!
There’s no need to add any additional liquids unless you want to add juice or yogurt. This homemade popsicles recipe doesn’t need it. There is enough water from the fruit itself to blend nicely.
In a powerful blender, blend all ingredients until very smooth.
Straining Tip
Some fruit has seeds, like strawberries, raspberries, etc. If you want, you can strain the purée through a fine mesh sieve or cheesecloth before adding them to the molds. However, the pulp of the fruit is what gives the purée its body and flavor. If you strain it, you’ll be using more of the thinner juice. In this case, you may need to supplement it with a little added juice.
Pour into Popsicle Molds and Freeze
Pour into 6 popsicle molds and freeze for 4 to 5 hours. If I know we won’t be eating them right away, I will make them the night before and freeze overnight. That way there is no waiting!
If you have stand up molds, when you add the popsicle sticks to the mold, the level of mixture will rise. If you fill them all the way to the brim, you’ll notice some spill over. To avoid this, fill to just below the brim.
Release from Molds
To remove the popsicle from the mold, hold it under hot running water for a few seconds. Plastic molds need more time under the water than silicone or stainless steel molds do.
As you’re gently turning the molds over onto the side under the water, carefully turn twist, and turn the popsicle stick handle to loosen it a bit.
How to Store
Keep homemade popsicles in the freezer! Remove pops from molds, wrap each one in plastic wrap and place in a zip-top freezer bag or airtight container. Freeze for up to 1-2 months but not longer as their quality declines. That way you can just take one out at a time when you want one.
You can keep them in the molds if you choose, but then you’re holding your mold hostage until they’re all empty.
FAQs
Yeah, you can! Grab some of your kids’ small plastic or paper cups and place them onto a baking sheet. Pour mixture into each cup, leaving a bit of space at the top. Cover each cup with a sheet of foil and cut a slit into each one, just enough for a stick to fit in. Place a popsicle stick into each one and freeze overnight.
Yes, you can. You will have to thaw the frozen fruit first. One thing only, fruit used for commercial freezing often is less ripe and sweet, so taste it and you might have to add maple syrup or honey to it.
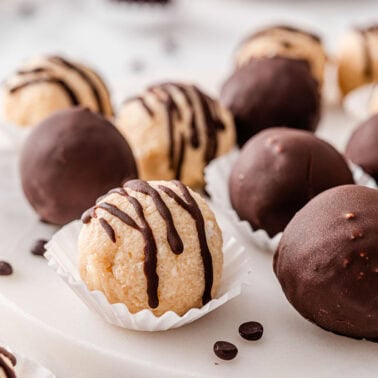
More Frozen Desserts You’ll Love
- Greek yogurt ice cream bars
- Healthy chocolate ice cream
- Coconut mango ice cream
- Dole whip
- Cottage cheese ice cream
- Banana snickers

Healthy Homemade Popsicles
Equipment
Ingredients
- 4 cups any fresh fruit or berries, ripe and sweet
- 12 large fresh mint leaves
Instructions
- In a blender, blend fruit and mint leaves until very smooth.
- Pour into 6 popsicle molds and freeze for 4-5 hours or overnight, depending on the molds size and your freezer's temperature.
- To remove popsicle from the mold, hold it under hot running water for a few seconds, plastic needs more time than stainless steel ones to come off. Enjoy!
Notes
- Store: Remove popsicles from molds, wrap each one in plastic wrap and place in a zip-top freezer bag or airtight container. Freeze for up to 1-2 months but not longer as their quality declines.
- To make 3 kinds (2 each) of popsicles, I used heaping 1 1/4 cups of 3 kinds of fruit.
Nutrition
Nutrition information is automatically calculated, so should only be used as an approximation.
Do these have to be made with fresh fruit, or would frozen fruit be acceptable too? If using frozen fruit should it be thawed first?
Yes, you would have to thaw the frozen fruit first. One thing only, fruit used for commercial freezing often is less ripe and sweet, so taste it and you might have to add maple syrup or honey to it.
Great ideas! I hadn’t thought of coconut milk. Thank you!
Glad to hear, enjoy!
Banana, orange, pineapple combo!
A lot of mint. Do you use mint in all the flavors? I’m not a mint person.
Don’t add it then.
dilecieuse
can you use frozen strawberries?
If you thaw them first and then blend.
These popsicles are so easy to make! Tasty too!
How genius is this idea! I love the whole stainless steel set and would love to get one for myself. I would make a strawberry mango pop! I’m sure the flavor ideas are endless especially in the summertime. Thanks for sharing with us Olena!